Spring Lawn Care – Essential Tips for a Lush, Healthy Yard
Besides vibrant blossoms, spring’s arrival also marks the beginning of lawn care season. After months of winter dormancy, your lawn needs proper attention to regain strength and flourish throughout the growing season.
Harsh winter conditions can leave lawns struggling with compacted soil and depleted nutrients. As the weather warms and grass grows, giving your lawn the proper care early on sets the foundation for a healthy, thriving yard.
This guide will walk you through the essential spring lawn care steps to revive and maintain a lush, green lawn.
Assessing Your Lawn After Winter
Spring is the perfect time to rejuvenate your lawn and set the foundation for healthy growth throughout the year. Here are the first steps you should take when assessing your lawn after winter:
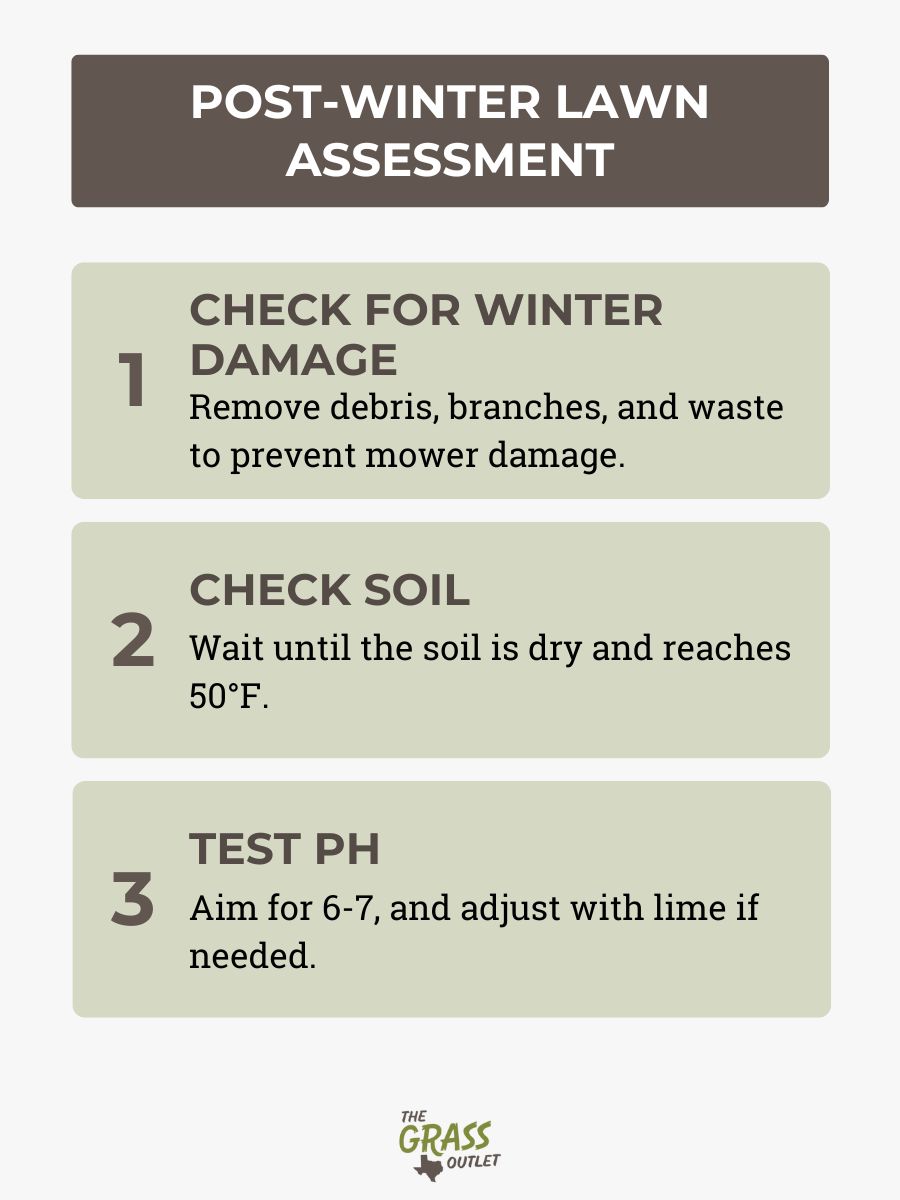
- Check for Winter Damage: Start by thoroughly cleaning your yard. Take the time to collect fallen branches, clear away scattered gravel from sidewalks and driveways, and remove any debris that may have built up over the winter months, including pet waste. Small stones can be particularly dangerous, as they may damage mower blades or, if caught and propelled by the machine, could shatter windows or dent nearby vehicles.
- Soil Temperature & Readiness: Before tackling major lawn care tasks, ensure the soil is ready. Working on a wet lawn can lead to compaction, which prevents grass roots from accessing air and nutrients. It’s best to wait until the soil has dried out and temperatures consistently reach at least 50°F, ensuring optimal conditions for growth.
- Perform a Soil Test: Most grass varieties flourish in soil with a balanced pH, typically 6 to 7. It’s essential to ensure your soil falls within this ideal range. Certain plants can offer clues about soil conditions—moss and some weeds thrive in acidic environments, while clovers prefer more alkaline soil. However, the most accurate way to assess your lawn’s health is by performing a soil test, which provides detailed insights into pH levels, nutrient content, and more.
If your test results indicate that your soil is too acidic or overly alkaline, you must apply the appropriate amendments to restore balance. For instance, adding lime can help increase the pH of overly acidic soil, creating a better environment for healthy grass growth.
Spring Lawn Care Essentials
Raking & Debris Cleanup
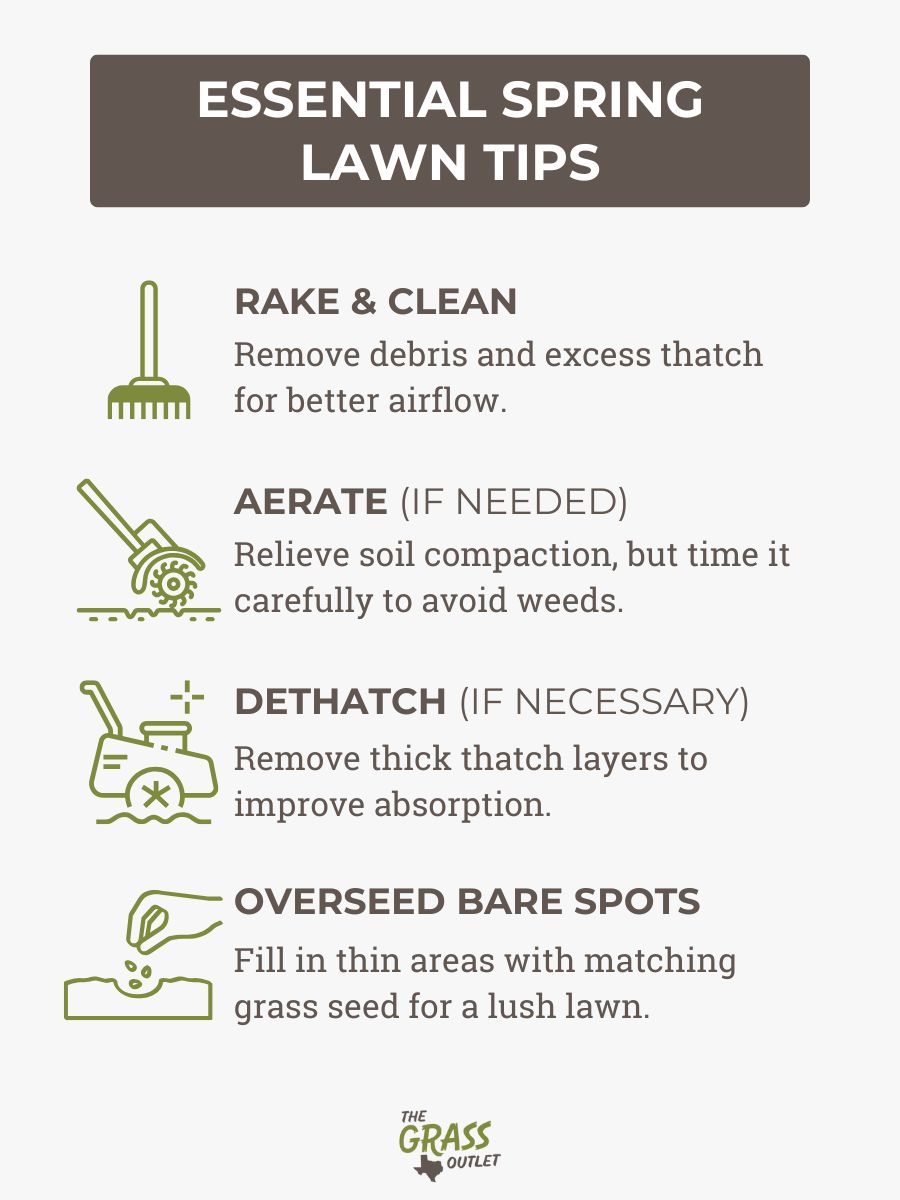
Raking is an essential step in preparing your lawn for new growth. The primary goal of early spring raking is to remove excess thatch that has built up beyond ½ inch in thickness.
While a traditional rake works well, a cordless or backpack leaf blower can also assist in clearing debris.
To avoid damaging tender grass, wait until the lawn begins to green up before raking. Use a flexible leaf rake to gently break up thatch and clear matted areas, especially if snow mold is present.
Even if you raked in the fall, spring raking remains essential. It helps break up any remaining thatch on top of the root system, ensuring better air circulation and nutrient absorption. To protect young plants, opt for a lightweight, flexible rake over a stiff metal one.
Aeration (If Needed)
Aerating your lawn in spring helps relieve soil compaction, improving air and water penetration to the roots. However, only aerate if necessary, particularly in high-traffic areas where compacted soil inhibits healthy grass growth. Spring aeration can also stimulate weed growth, especially crabgrass. To minimize this risk, aerate around Memorial Day—after weeds have started growing but before they go to seed.
Spring aeration should be done only if compaction is severe for cool-season grasses, using core aeration as needed. Warm-season grasses, such as Bermuda and Zoysia, should be aerated between April and July when they are actively growing but before temperatures become excessively hot.
For small lawns, a garden fork can be used by inserting the tines 3-4 inches into the soil and gently lifting them. More extensive lawns benefit from a mechanical aerator for more efficient coverage.
Dethatching (If Necessary)
Thatch is a layer of living and dead organic material, such as roots and leaves, between grass and soil. While a thin layer is beneficial, anything over ½ inch can restrict water, air, and nutrient absorption. To determine if dethatching is needed, dig a 3-inch soil sample and measure the spongy layer’s thickness.
Dethatching should be done during the lawn’s active growing season for quick recovery. Warm-season grasses (Zoysia, St. Augustine, Bermuda) should be dethatched in late spring. Conversely, cool-season grasses (Fescue, Kentucky bluegrass, Perennial ryegrass) are best dethatched in fall, but early spring is an alternative if necessary.
You can dethatch manually using a dethatching rake or mechanically with a dethatcher or verticutter. Regular lawn raking may also help reduce thatch buildup. For the best results, consider hiring a professional to ensure proper dethatching without damaging your lawn.
Overseeding Bare or Thin Areas
Overseeding is an effective way to restore a lawn’s density and fill in bare spots caused by winter damage, heavy foot traffic, or pet activity. While fall is the ideal time to overseed, spring overseeding with fresh grass seed rejuvenates the lawn, restoring its lush, green appearance. It also helps fill in bare spots left behind after moss removal.
Before overseeding, mow the existing grass slightly shorter than usual to ensure the new seed receives adequate sunlight. Remove grass clippings to help the seed make direct contact with the soil. Consider adding a thin layer of topsoil for particularly bare areas before applying the seed.
It is crucial to choose a grass variety that matches your lawn for a seamless blend. If your lawn is a hybrid variety, you should avoid overseeding, as grass grown from seed can steal nutrients from the soil. For hybrid lawns, use grass blocks or plugs to make repairs. After seeding or sodding, apply a slow-release nitrogen fertilizer to encourage healthy germination and keep the soil consistently moist until the new grass is well established.
Fertilizing Your Lawn in Spring
Fertilizing your lawn promotes healthy growth while helping to prevent weeds and diseases. However, it’s important to apply fertilizer carefully—too much can lead to problems with pests and overgrowth.
In early spring, light feeding should kickstart growth without encouraging excessive top growth. Late spring is ideal for a balanced fertilizer to support root and blade development.
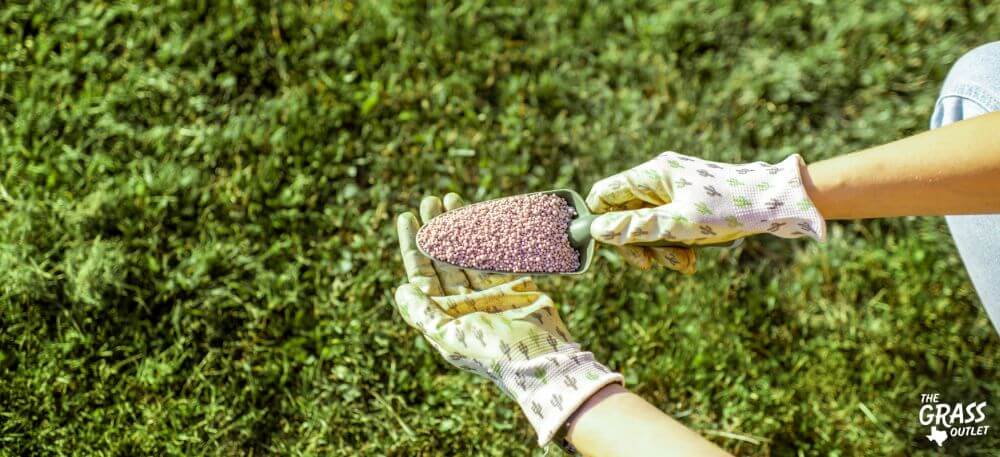
Why are these important? Your lawn requires essential nutrients for healthy spring growth: nitrogen, phosphorus, and potassium. These key elements are present in all fertilizers, varying proportions indicated by the “N-P-K” ratio. You can opt for organic fertilizers like compost or use a mulching mower to break down grass clippings into a nitrogen-rich fertilizer. Alternatively, slow-release nitrogen fertilizers are a good choice for steady growth.
Apply fertilizer just before rain to ensure it soaks thoroughly into the soil or water if rain is not expected. Be cautious with the amount—spread it evenly using a spreader to avoid fertilizer burn. Fertilize about three weeks after your grass begins to green up, adjusting for your grass type. If herbicides were used, wait at least a week before applying fertilizer.
Slow-release or organic fertilizers are best to avoid over-fertilizing, mainly if you fed your lawn the previous fall.
Weed Prevention & Control
Spring is ideal for tackling weeds like dandelions before they take over your lawn. To prevent them from spreading, simply snap off their flower stems to stop seed production. However, pulling the entire weed, root, and all else is necessary for complete control.
Both pre- and post-emergent herbicides can be effective for more proactive weed prevention. Pre-emergent herbicides prevent weeds, such as crabgrass, before they sprout, and to be effective, they must be applied before soil temperatures reach 55°F in early spring. However, they must be used with care, as they can also prevent grass seed from germinating if overseeding is planned.
Post-emergent herbicides, on the other hand, are designed to target already-sprouted weeds, such as dandelions and clover. It’s more efficient and safer for your lawn to spot-treat visible weeds rather than applying herbicide over the entire lawn. Overusing chemicals can harm soil health, so use them sparingly.
Starting your lawn care at the right time and under the proper conditions is crucial to prevent weed germination.
Proper Spring Mowing Techniques
Your lawn is ready to be mowed when it reaches about 3-4 inches in height and displays a lush, green appearance, indicating healthy growth. It’s essential to mow only when the grass is dry, as wet grass can clump together, potentially damaging your lawn mower and blocking sunlight from reaching the grass.
When mowing, adjust the blade to the highest setting and aim to cut no more than one-third of the grass height at a time. This helps prevent stressing the grass and encourages healthy growth. As the grass grows, you can gradually lower the mower setting but always adhere to the one-third rule to maintain sufficient leaf length for photosynthesis.
Mower maintenance is essential for efficient mowing and a healthy lawn. Sharpening the mower blades ensures a clean cut, which reduces lawn stress and promotes better healing. Also, adjust the mower height based on your grass type—grasses like Bermuda prefer a lower cut, while others benefit from a higher setting.
In the early spring, mowing once every two weeks may be sufficient. However, as growth picks up in spring and summer, you may need to mow more frequently.
Spring Watering Guide
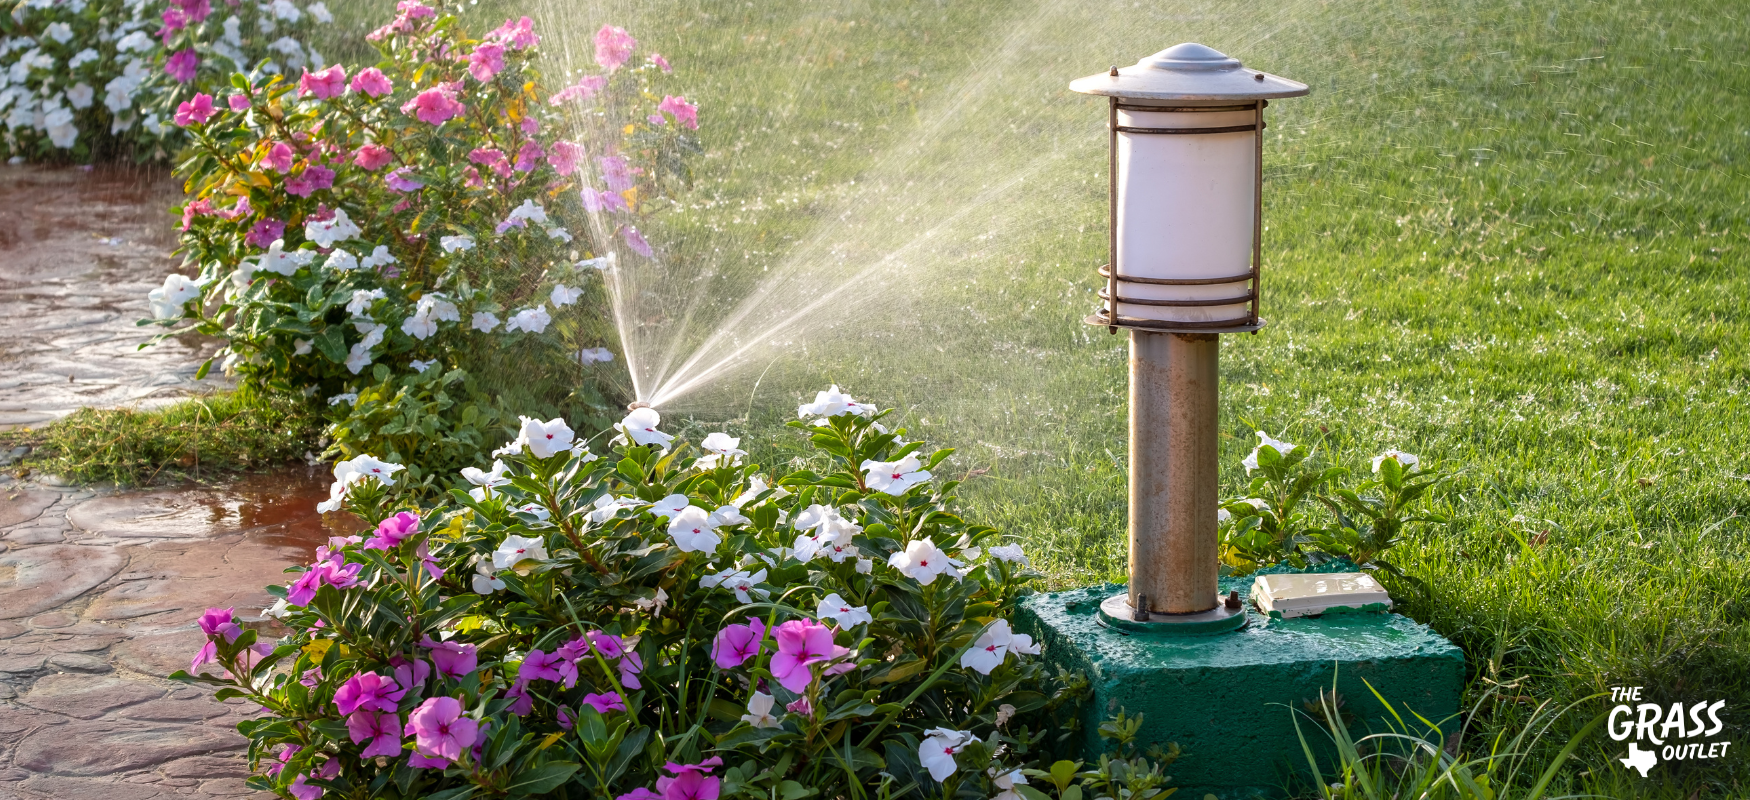
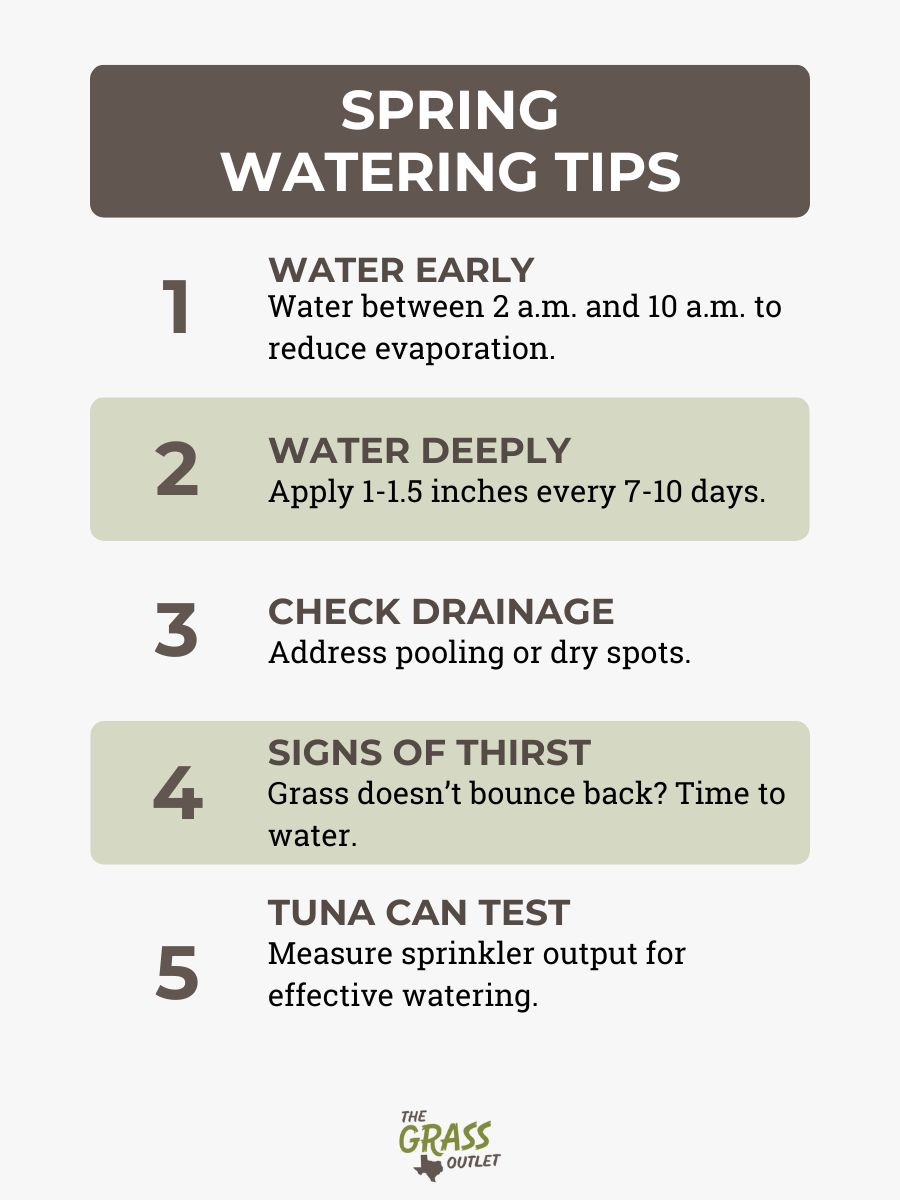
Proper watering in the early spring is crucial for establishing a lush, healthy lawn for the warmer months ahead. During the first few weeks, keep the grass wet but not soggy. Once the new grass seed sprouts or the sod takes root, apply one to one and a half inches every 7 to 10 days, or as needed. Established lawns typically require less frequent watering, often once every 10 days, as they don’t need the same moisture boost as newer lawns.
Watering Tips to Keep in Mind:
- Water deeply but infrequently. This encourages profound root growth, which helps the grass withstand drought conditions later on.
Best time to water: Early morning, between 2 a.m. and 10 a.m., is ideal to prevent excessive evaporation and minimize disease risks. Avoid watering during the hottest part of the day or late evening. - Check for drainage issues: If water pools in certain areas or some patches remain too dry, address these issues to ensure even moisture distribution across your lawn.
- Signs of thirst: If your grass doesn’t bounce back when you step on it, it’s time to water. A simple step test can help you gauge when your lawn needs hydration.
- To ensure your irrigation system is effective, perform the tuna can test: Place tuna cans around your lawn, run the sprinklers for 15 minutes, and then measure the water in each can. Average the measurements to assess the output.
Pest & Disease Prevention
Spring brings a variety of lawn pests and potential diseases that can damage your turf. Watch for signs of pests like grubs, chinchbugs, or armyworms. Grubs, in particular, are a common issue, especially in late spring. These pests feed on grass roots, and you can eliminate them using insecticides, neem oil, or milky spore powder.
Signs of Lawn Pests
- Look for damage, such as discolored patches or areas where the grass is thinning
- Grubs, which are pale and white, are particularly notorious during spring and can be controlled with appropriate treatments
You can also tackle pests with natural options like beneficial nematodes or chemical treatments. Integrated pest management (IPM) offers a balanced approach combining natural and chemical methods. If pests persist, it may be wise to consult a professional.
Preventing Lawn Diseases
Lawn diseases such as fairy ring, snow mold, and leaf spot can develop during spring’s cool, damp conditions. These fungal diseases often cause discoloration, thinning, lesions, and even the growth of mushrooms or mycelium.
To prevent lawn diseases, avoid overwatering lawn, and improve soil drainage to reduce moisture buildup. If diseases occur, fungicides can help eliminate the fungi, whether applied by yourself or a professional.
Conclusion
Spring lawn care is essential in laying the foundation for a healthy, thriving lawn throughout the year. By following these steps, you can ensure your grass stays lush, green, and resilient, ready to withstand the challenges of the seasons ahead. Whether it’s aerating, fertilizing, or pest control, proper care in the spring sets your lawn up for success.
If you’re looking for high-quality sod or expert advice to perfect your lawn, The Grass Outlet has everything you need to get started. If you need professional guidance, our specialists are always available to assist with personalized lawn care plans tailored to your lawn’s unique needs.
