How to Fix Patchy Grass: A Step-by-Step Lawn Repair Guide
Those brown, bare spots in your lawn can be frustrating. Your once-perfect green carpet now looks like a worn-out patchwork quilt. Patchy grass happens for many reasons—pets leave burn spots, foot traffic wears down paths, or weather conditions stress your turf. The good news? You don’t need to start over with your lawn. With the right approach, you can fix those eyesores and restore your yard’s beauty.
Tools and Materials You’ll Need
Before starting your lawn repair project, gather these essential items:
- Rake or dethatcher – Removes dead grass and loosens soil
- Lawn aerator – Creates holes for better water and nutrient absorption
- Garden or edger shovel – For soil preparation and sod cutting
- Soil test kit – Determines pH and nutrient levels
- Quality grass pieces – Matched to your existing lawn
- Topsoil or compost – Improves soil structure
- Starter fertilizer – Encourages root development
- Sprinkler or hose with spray nozzle – Provides consistent, targeted watering
- Lawn roller – Ensures good sod-to-soil contact
- A mower with sharp blades – For proper maintenance after repair
Repairing patchy grass improves your home’s curb appeal. A healthy lawn also prevents soil erosion, reduces heat around your property, and creates a comfortable outdoor space for family activities. Let’s explore how you can transform those unsightly spots back into lush, green grass.
1. Identify the Cause of Patchy Grass
Your repair strategy will only work if you know what damaged your lawn in the first place. Different problems require different solutions.
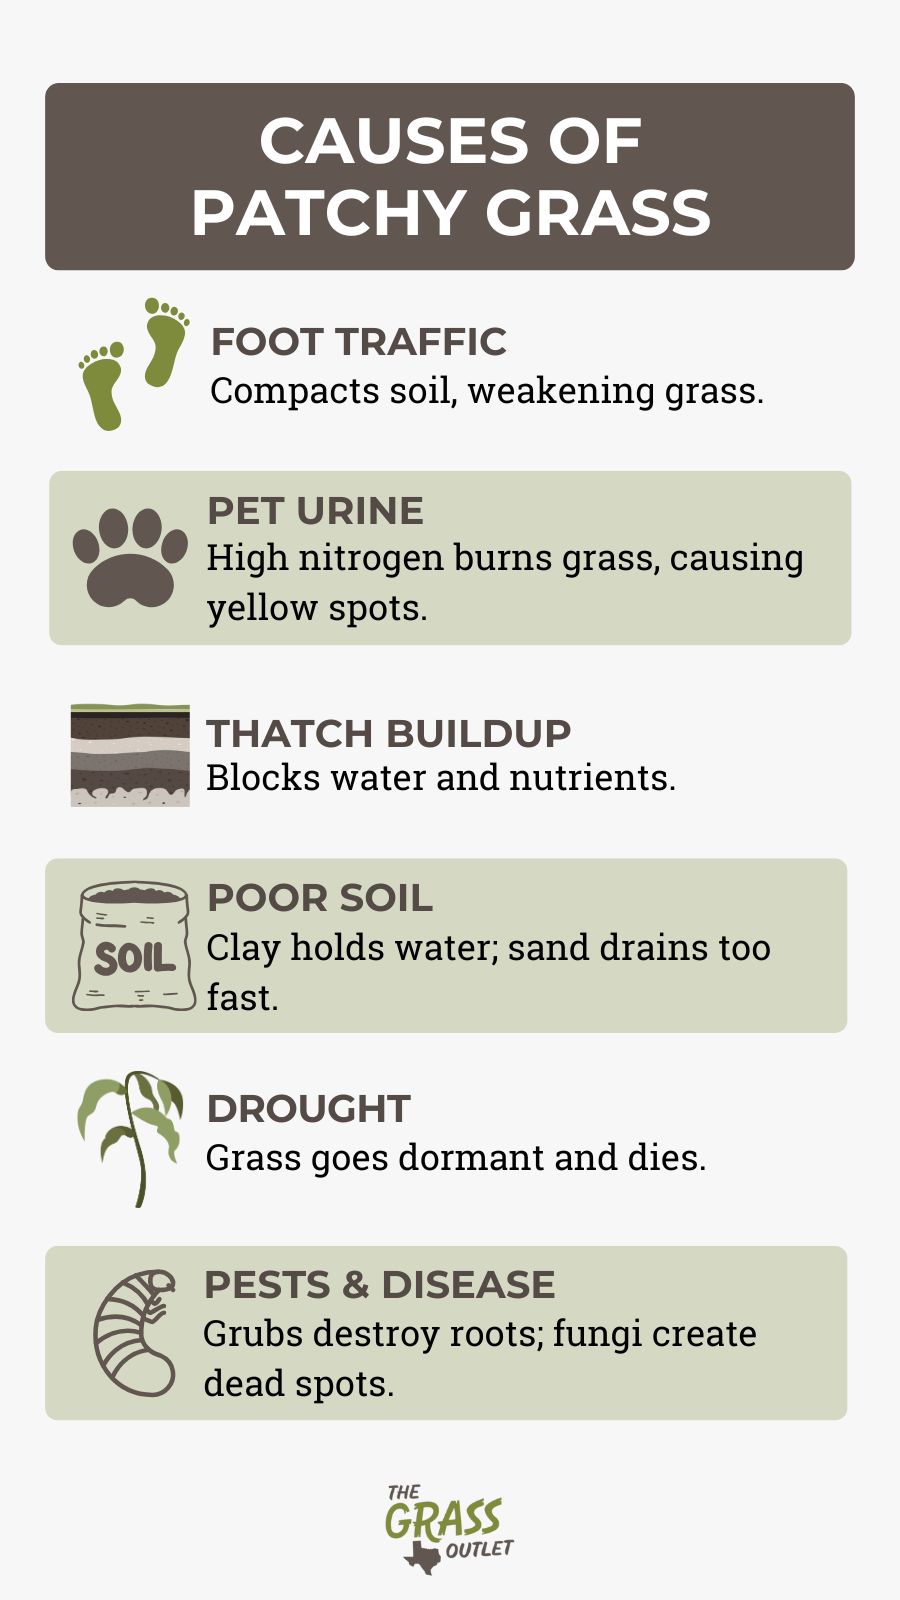
Heavy Foot Traffic
People love to take shortcuts. The path between your driveway and the front door might see constant foot traffic. Kids play in the same areas repeatedly. These high-traffic zones compact the soil and wear down grass until it can’t recover.
Pet Urine Damage
Dog owners know the struggle. Those yellow circles with green rings around them? That’s pet urine at work. The nitrogen in urine burns grass at high concentrations but acts as fertilizer at the edges. Female dogs cause more damage by releasing all their urine in one spot.
Thatch Buildup
A thin layer of thatch helps protect your lawn. But when this layer of dead grass and debris grows thicker than half an inch, it blocks water and nutrients. The grass’s roots can’t reach what they need, and patches start to form.
Poor Soil Quality
Grass struggles in compacted or nutrient-poor soil. Clay soils hold too much water and limit oxygen to roots, while sandy soils drain too quickly and don’t retain nutrients. The pH level matters, too—most grasses prefer slightly acidic soil between 6.0 and 7.0.
Drought or Under-Watering
Most lawns need about one inch of water weekly. During hot spells, grass might go dormant and turn brown to conserve energy. If drought continues too long, those dormant areas die completely, leaving patches.
Pests or Disease
Grubs feast on grass roots underground, while fungal diseases attack blades above. Both can create distinct patterns of damage across your lawn. Brown patch disease creates circular dead spots, while grub damage causes sections that pull up quickly like a loose carpet.
2. Preparing the Patchy Areas for Repair
Once you know what caused your patches, you must prepare the soil properly. If you skip this step, your new grass will not thrive.
First, remove all debris from the damaged areas. Pull out dead grass, rocks, twigs, and weeds. Use your hands or a garden rake for small spots. Consider renting a sod cutter for larger areas to save your back and time.
Next, loosen the soil surface. Compacted soil prevents roots from establishing. Use a garden claw cultivator to turn the soil in the bare spots Break up clumps and remove rocks and debris. If your soil is clay or low in nutrients, consider mixing in chocolate loam and compost mix (50/50 blend). Don’t skip these steps—roots need room and healthy soil to grow.
Testing your soil reveals hidden problems. Home test kits check pH and significant nutrients. Your local ag extension office might offer more detailed testing services. Adjust soil based on test results:
- For acidic soil (below 6.0), add lime
- For alkaline soil (above 7.0), add sulfur
- For nutrient deficiencies, add the specific nutrients your soil lacks
Good soil provides the foundation for your grass repair success. Take time to get it right before moving to the next step.
3. Choosing the Right Repair Method
Different grass types and damage levels require different repair approaches. Choose the method that fits your specific situation.
Recommended Grass Types for Different Climates
Your climate determines which grass types will thrive in your yard:
Cool-Season Grasses (Northern U.S.):
- Kentucky Bluegrass – Excellent self-repair abilities, moderate shade tolerance
- Tall Fescue – Drought-resistant with deep roots, handles heat better than other cool-season grasses
- Perennial Ryegrass – Quick germination, good for overseeding and high-traffic areas
- Fine Fescue – Superior shade tolerance, requires less fertilizer
Warm-Season Grasses
- Bermuda – Highly drought- and heat-tolerant, aggressive spreading, needs full sun
- Zoysia – Excellent heat and shade tolerance, dense growth that resists weeds
- Augustine – Great shade tolerance, performs well in sandy soils and high humidity
- Centipede – Low maintenance, tolerates acidic soils
Transition Zone Grasses (Mid-Atlantic, parts of Midwest):
- Tall fescue or bluegrass/ryegrass mixes work well
- Some warm-season varieties like Zoysia can also succeed with proper care
Overseeding for Minor Patches
Overseeding works best for thinning areas that still have some grass. This method adds new grass plants without disturbing existing turf. Cool-season grasses like Kentucky bluegrass, tall fescue, and Perennial ryegrass respond well to overseeding. Warm-season grasses, such as Zoysia and St. Augustine are not available as seed and do not respond well to overseeding.
Laying Sod for Larger Bare Spots
Sod provides instant grass for larger bare areas. It costs more than seed but gives immediate results. Warm-season grasses like Bermuda, Zoysia, and St. Augustine typically come as sod.
Measure your patchy areas before buying sod. Purchase slightly more than you need to account for trimming and waste. Fresh sod should look green and healthy with moist soil attached to strong roots.
Cut sod pieces to fit the prepared areas. Use a sharp knife or edger for clean cuts. Stagger the joints like brickwork so they don’t line up. This prevents water from channeling between seams and creates a more unifrom appearance.
Press sod firmly into contact with the soil beneath. Walk over it gently, or use a lawn roller to eliminate air pockets. Water immediately after installation to help roots bond with the soil below.
4. Proper Care After Patching
Your job isn’t finished after patching. Proper aftercare determines whether your repairs succeed or fail.

Watering Schedule
New grass needs consistent moisture to establish. The surface should stay damp but not soggy.
For seeds, water lightly 2-3 times daily for the first two weeks. Use a fine spray that won’t wash away seeds. Morning and afternoon watering work best. Avoid evening watering, which can promote fungal diseases.
For sod: Water deeply immediately after installation. For the next week, water daily to soak the sod, applying an inch of water. After roots are established (7-10 days), frequency is reduced, but watering depth increases.
Adjust your watering schedule based on weather conditions. Rain counts toward your watering totals, and hot, windy days require more frequent watering.
Fertilization & Soil Amendments
New grass needs nutrients to establish quickly, but timing matters. Apply starter fertilizer when preparing the soil or immediately after seeding. These fertilizers contain more phosphorus to encourage root development.
Wait at least four weeks before applying regular nitrogen fertilizer to seeded areas. For sod, wait 3-4 weeks after installation. Too much nitrogen too soon forces leaf growth at the expense of root development.
Consider adding compost as a top dressing. Spread a thin layer (1/4 inch) over repaired areas to add organic matter and beneficial microbes. This improves soil structure over time. Compost can be added once the roots develop and the grass begins growing.
Mowing Guidelines
Patience pays off with mowing. Before cutting, wait until new grass reaches the recommended mowing height plus one inch. For most grasses, this means waiting until the grass reaches about 3-4 inches.
Set your mower to remove no more than one-third of the grass blade height in a single mowing. Cutting too short stresses new grass and can kill it. Keep mower blades sharp—dull blades tear the grass rather than cutting it cleanly.
For newly sodded areas, wait until the sod has rooted firmly (usually 2-3 weeks). You shouldn’t be able to lift the edges before mowing.
Estimated Timeline for Repair
Different repair methods require different waiting periods:
For Seed:
- Days 1-7: Seeds begin germination
- Days 7-14: First sprouts appear (faster for ryegrass, slower for bluegrass)
- Days 14-21: Seedlings establish and begin to spread
- Days 21-60: New grass strengthens, becomes more resilient
- 2-3 months: Lawn looks fully established and ready for regular maintenance
For Sod:
- Days 1-7: Sod begins rooting into the soil below
- Days 7-14: Root system develops more extensively
- Days 14-21: Sod becomes firmly rooted
- 30 days: Lawn is established and ready for regular maintenance
Seasonal Considerations for Lawn Repair
Timing significantly affects your lawn repair success:
Spring (March-May):
- Ideal for warm-season grass establishment
- Suitable for minor repairs to cool-season lawns
- Soil moisture and moderate temperatures help the establishment
- Challenge: Spring weeds compete with new grass
Summer (June-August):
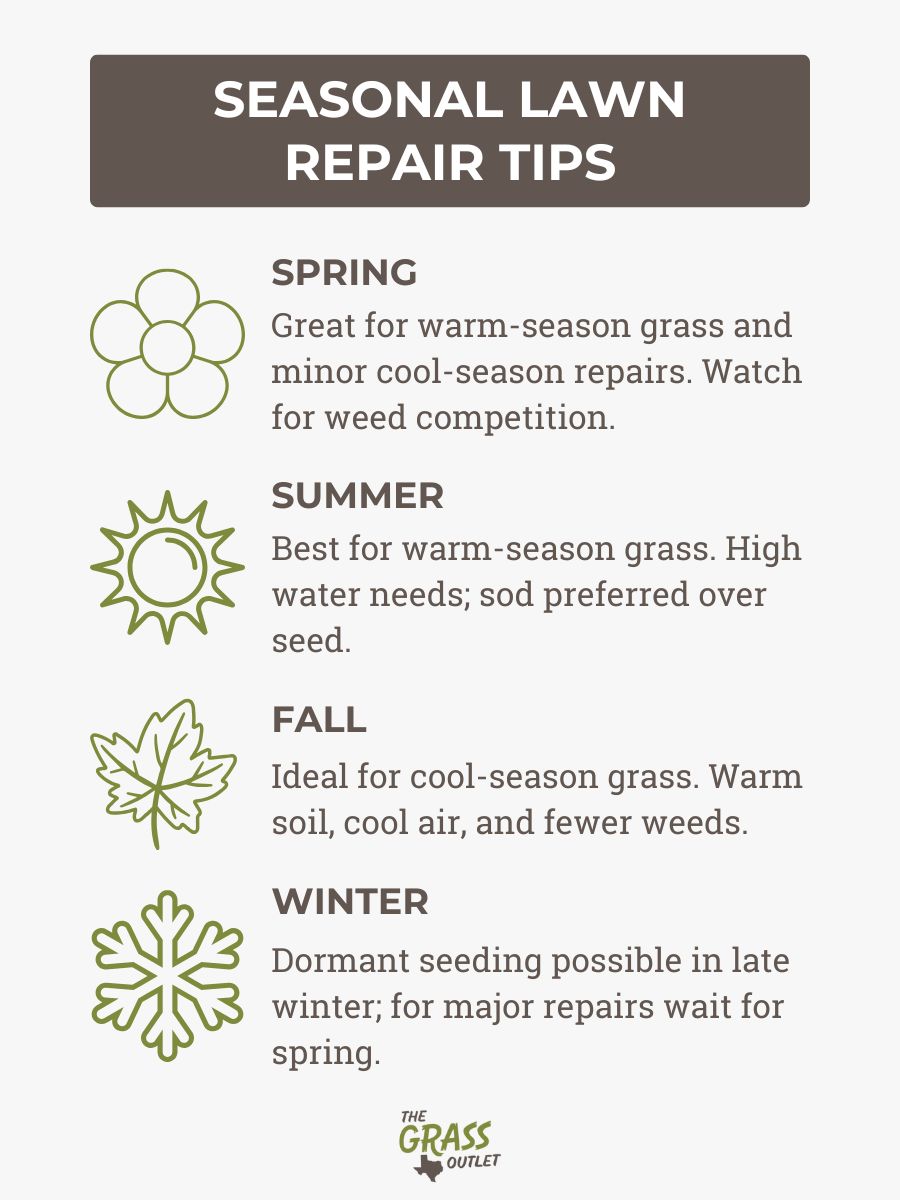
- Best for warm-season grass repairs only
- Cool-season grass struggles to establish in heat
- Water requirements increase significantly
- Recommended for sod rather than seed in most regions
Fall (September-November):
- Prime time for cool-season grass repairs
- The soil remains warm while air temperatures cool
- Reduced weed competition
- Gives grass time to establish before summer stress
- Most lawn experts consider early fall the ideal repair window
Winter (December-February):
- Dormant seeding is possible in very late winter
- Most repairs should wait until soil temperatures warm
- Plan and prepare for spring repairs instead
The rule of thumb is that cool-season grasses establish best in the fall, while warm-season grasses thrive with late spring planting.
Common Mistakes to Avoid
Even well-intentioned lawn repairs can fail due to these common errors:
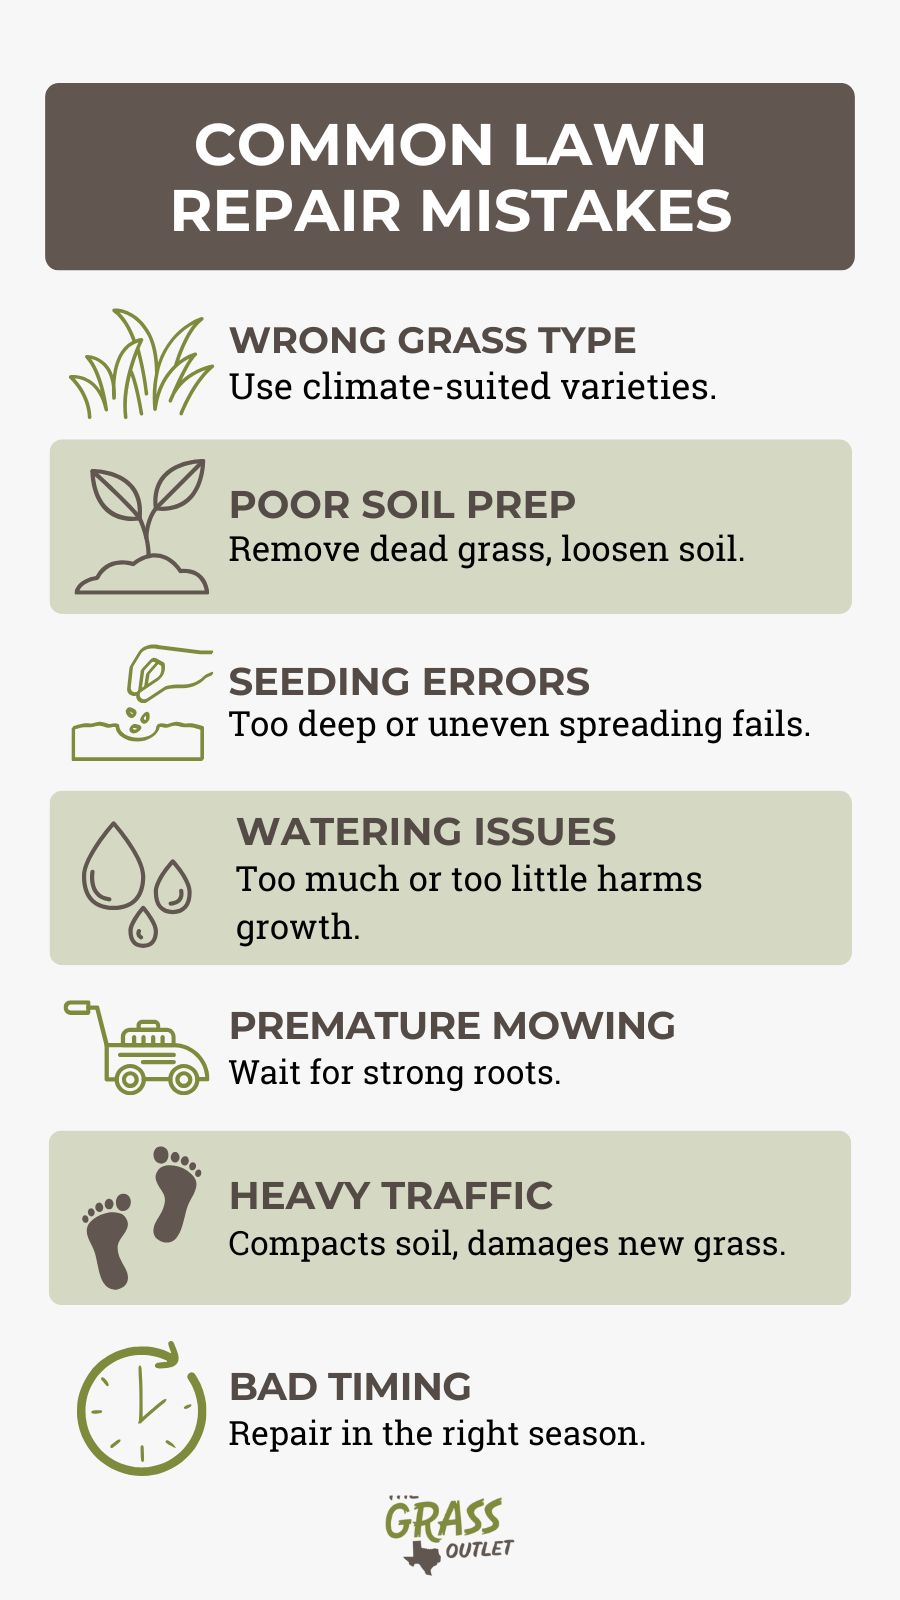
- Incorrect grass selection: Using grass varieties not suited to your climate or conditions
- Skipping soil preparation: Not removing dead grass or loosening soil before seeding or planting
- Improper seeding depth: Planting seeds too deep prevents germination
- Inadequate seed coverage: Spreading seed unevenly creates patchy results
- Inconsistent watering: Letting seed dry out or drowning it with too much water
- Premature mowing: Cutting new grass before it establishes proper roots
- Heavy foot traffic: Walking on newly seeded and sodded areas compacts soil and damages seedlings and grass
- Wrong timing: Attempting repairs during unfavorable seasons for your grass type
- Fertilizer misuse: Applying high-nitrogen fertilizer too soon burns young grass
- Ignoring underlying issues: Not addressing soil problems, drainage, or shade conditions
Preventing Future Patches
Fixing patches takes work. Save yourself the trouble by preventing new patches from forming.
Aerate compacted soil annually. This prevents the soil from becoming too dense for roots to grow. Spring or fall works best for cool-season grasses. Warm-season grasses prefer aeration in late spring or early summer.
Overseed thin areas before they become bare patches. Fall offers ideal conditions for cool-season grasses. Warm-season grasses prefer late spring overseeding.
In high-traffic areas, create designated paths with stepping stones or mulch. This protects your grass from constant foot traffic. Consider hardscaping for areas that see heavy use.
Pet owners should train their dogs to use a specific bathroom area with gravel or mulch. They should rinse urine spots immediately with water to dilute the nitrogen. Some pet-friendly lawn fertilizers help balance the nitrogen from pet urine.
Maintain proper mowing heights for your grass type. Taller grass develops deeper roots and resists drought better. Never remove more than one-third of the blade height in a single mowing.
- Cool-season grasses: 2.5-4 inches tall
- Warm-season grasses: 1-3 inches tall (varies by type)
Conclusion
Patchy grass doesn’t mean you need a completely new lawn. With the right approach, you can repair damaged areas and restore your yard’s beauty. The key lies in identifying what caused the patches in the first place. Address those underlying issues while following proper repair techniques.
Remember that lawn repair takes time. Seeds need weeks to germinate and establish. Sod needs time to root firmly.
Your reward will be a lush, even lawn that enhances your home’s appearance and provides a healthy outdoor space for family activities. A little work now prevents more significant problems later, saving you time and money in the long run.