Prepare Your Soil
If a couple of days or longer have passed since you cultivated and added your topsoil, make sure to rework the surface and break up clumps before you start your installation. You can lightly wet the area to cool the ground before laying down the grass, which can make a significant difference during the summer months. However, avoid getting the soil too wet and creating a muddy surface that inhibits a manageable work area.
Same-Day Installation
Once the fresh grass is delivered to your site, it’s essential to have it completely installed & watered on the same day. Leaving grass stacked on pallets or sitting in the heat on concrete is a quick way to stress our living product. It’s especially critical to get the grass down and watered within 12 hours of receipt during the summer months.
Normal Discoloration
It is not unusual for grass to begin to yellow shortly after harvest, which is why it is very important to know when to plant Bermuda grass and other warm-season grasses. Bermuda is particularly susceptible to post-harvest discoloration, especially when ambient temperatures are around 85֯ F or higher. The grass will begin to green back up during the first few weeks of adequate watering. Be advised that the grass’s recovery time will depend on ambient temperatures, weather, irrigation, and other environmental factors & cultural practices.
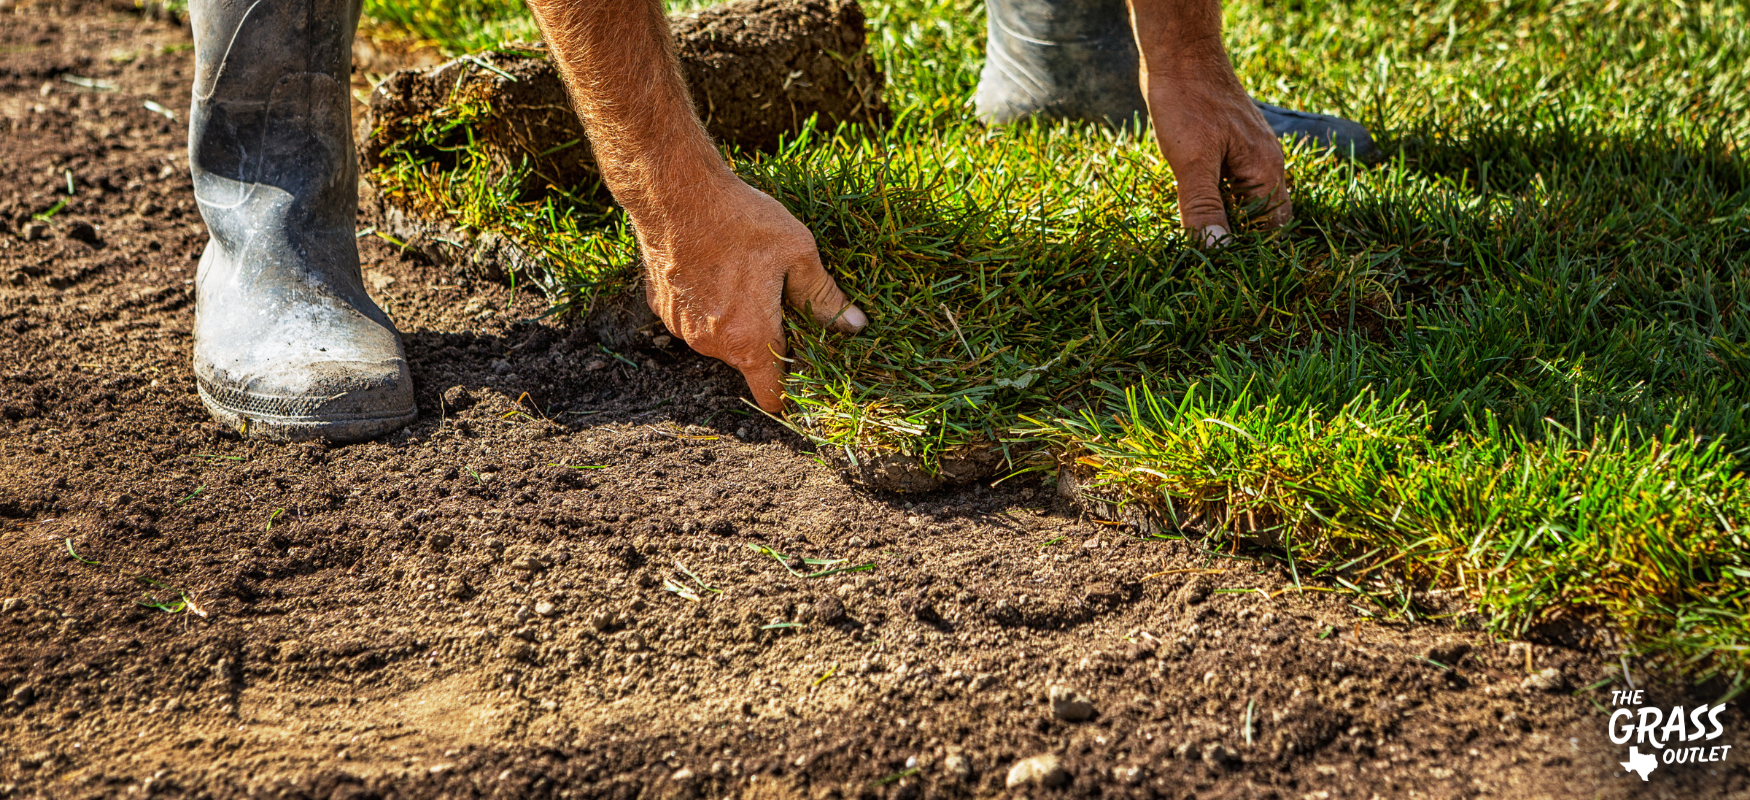
Plant the Sod Grass
Begin installing by lining up your first row of sod along a straight line, such as a sidewalk or fence. If you don’t have any straight lines in your yard, use a string stretched between two stakes as a reference. The subsequent rows should be laid in a “brickwork” fashion and not like a checkerboard. The brickwork pattern will minimize the seams lining up and will help create a more finished look. Use a sharp tool, such as a landscape knife, to cut the sod pieces as necessary to fill in irregular areas or gaps. The grass rows should fit snugly against one another without overlapping or leaving space between the pieces.
Water Immediately
It is vital to keep the grass moist as you lay it down. You should begin giving the planted grass water once you have installed about 200 square feet, either by turning on the irrigation in that zone or misting it with a garden hose, especially during hotter weather. Doing so will prevent the new grass from excessively drying out. This is particularly crucial during hot summer temperatures that will wilt fresh sod. Just make sure you do not flood areas that you have not yet installed in, as doing so can create a problematic workspace.
Once the installation is complete, water the lawn thoroughly. Newly laid grass needs water immediately and daily. It will almost certainly die without it. For more information on watering your lawn, check out our irrigation page.
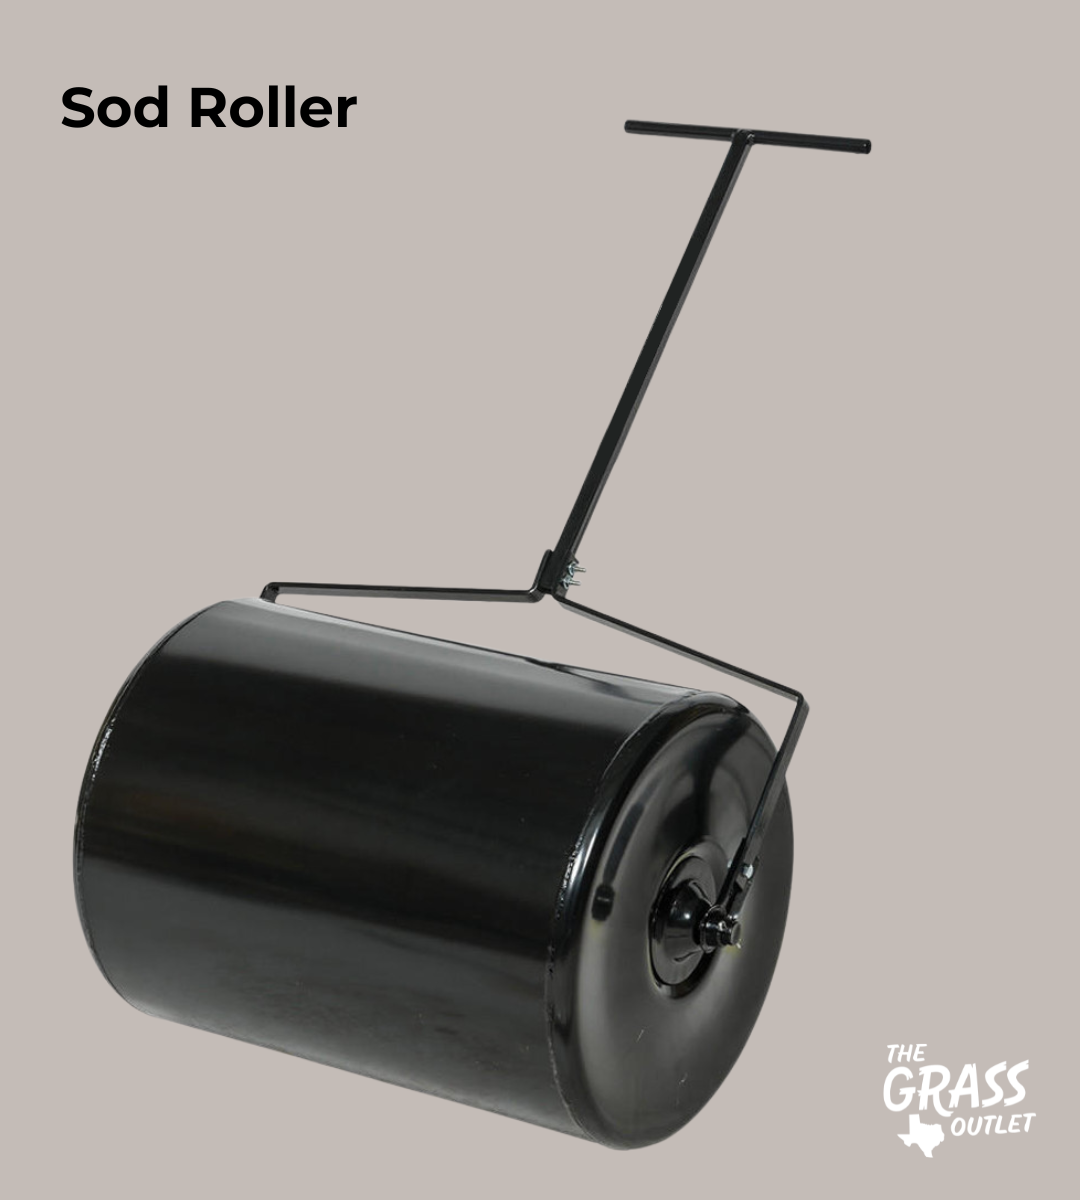
Roll the Sod
Finally, after the initial new sod watering and once the ground is firm but soft, fill a sod roller with water and go over your lawn several times. Many hardware stores such as Home Depot rent out sod rollers by the day at a minimal cost, and they are easily transported once water is drained. Rolling the sod helps mesh the seams created from the grass blocks, assists in root establishment by pressing the sod to the soil, removes air pockets, and evens out the ground.
Tips & Warnings
- Set aside broken, misshapen, and smaller blocks and use them at the end of the installation for your gap fill-ins and to go around oddly shaped areas.
- Install stressed top blocks in less visible or less important areas, and give these supplemental water and more time to green up.
- Have extra topsoil on hand to build up areas as needed.
- Always roll the grass after the installation is complete.
- Do not apply fertilizer to the soil or new grass for at least a few weeks.
What You’ll Need
- Extra topsoil for grass
- Sharp tool, such as a machete or garden knife
- Wheelbarrow
- Sod roller
- Water hose
- Landscaping gloves *Optional*
- Other PPE *Optional*
- Two wooden stakes and string *Optional*