Remove Weeds in Advance
Controlling weeds before installing your new grass will help prevent an ongoing battle with weeds post-installation. While many established and healthy turfgrass varieties will eventually crowd weeds out of your lawn, it is still good practice to minimize weed growth before you install new grass.
Soil Contamination
Be advised that soil is an organic resource cultivated & stored outside and will almost always be contaminated with weed seeds to one extent or another. Further, weed seeds can lie dormant in the ground for years, germinating when the conditions are right. Even areas where weeds may not have been growing in the past are prone to weed growth once the soil is cultivated and the seeds are exposed to sunlight, particularly when soil moisture increases after installation.
Various Removal Methods
That said, there are several ways to remove or control weeds before planting. Below, we will discuss a quick, chemical, and non-chemical method. Each method has its perks & drawbacks, and you will need to decide which approach best suits your needs.
Quick Method
Least Effective at Controlling Future Weeds
The quick method will be the least effective at controlling future weeds. However, this method may work for you if you have minimal, young weeds in your yard and you are not concerned with the possibility of having issues with weeds after your grass is installed.
A Non-Selective Herbicide will Increase Efficacy
Be advised that eliminating & preventing weeds post-installation can become significantly more problematic when choosing this quicker, less thorough method. This is especially true if you opt not to use a non-selective herbicide to kill the existing weeds & vegetation back before installing your grass. Additionally, if any rooted vegetation is left undisturbed, the roots of the new sod will have a hard time making direct contact with the soil, hindering root establishment.
Most Commonly Used Method
That said, this is the most common method employed by homeowners because it does not require a lot of planning and yields a much faster turnaround. This method is more effective if you install the grass right away, lay the pieces seam to seam, irrigate appropriately for the weather, and follow a diligent pre-emergent herbicide application schedule.
Step 1:
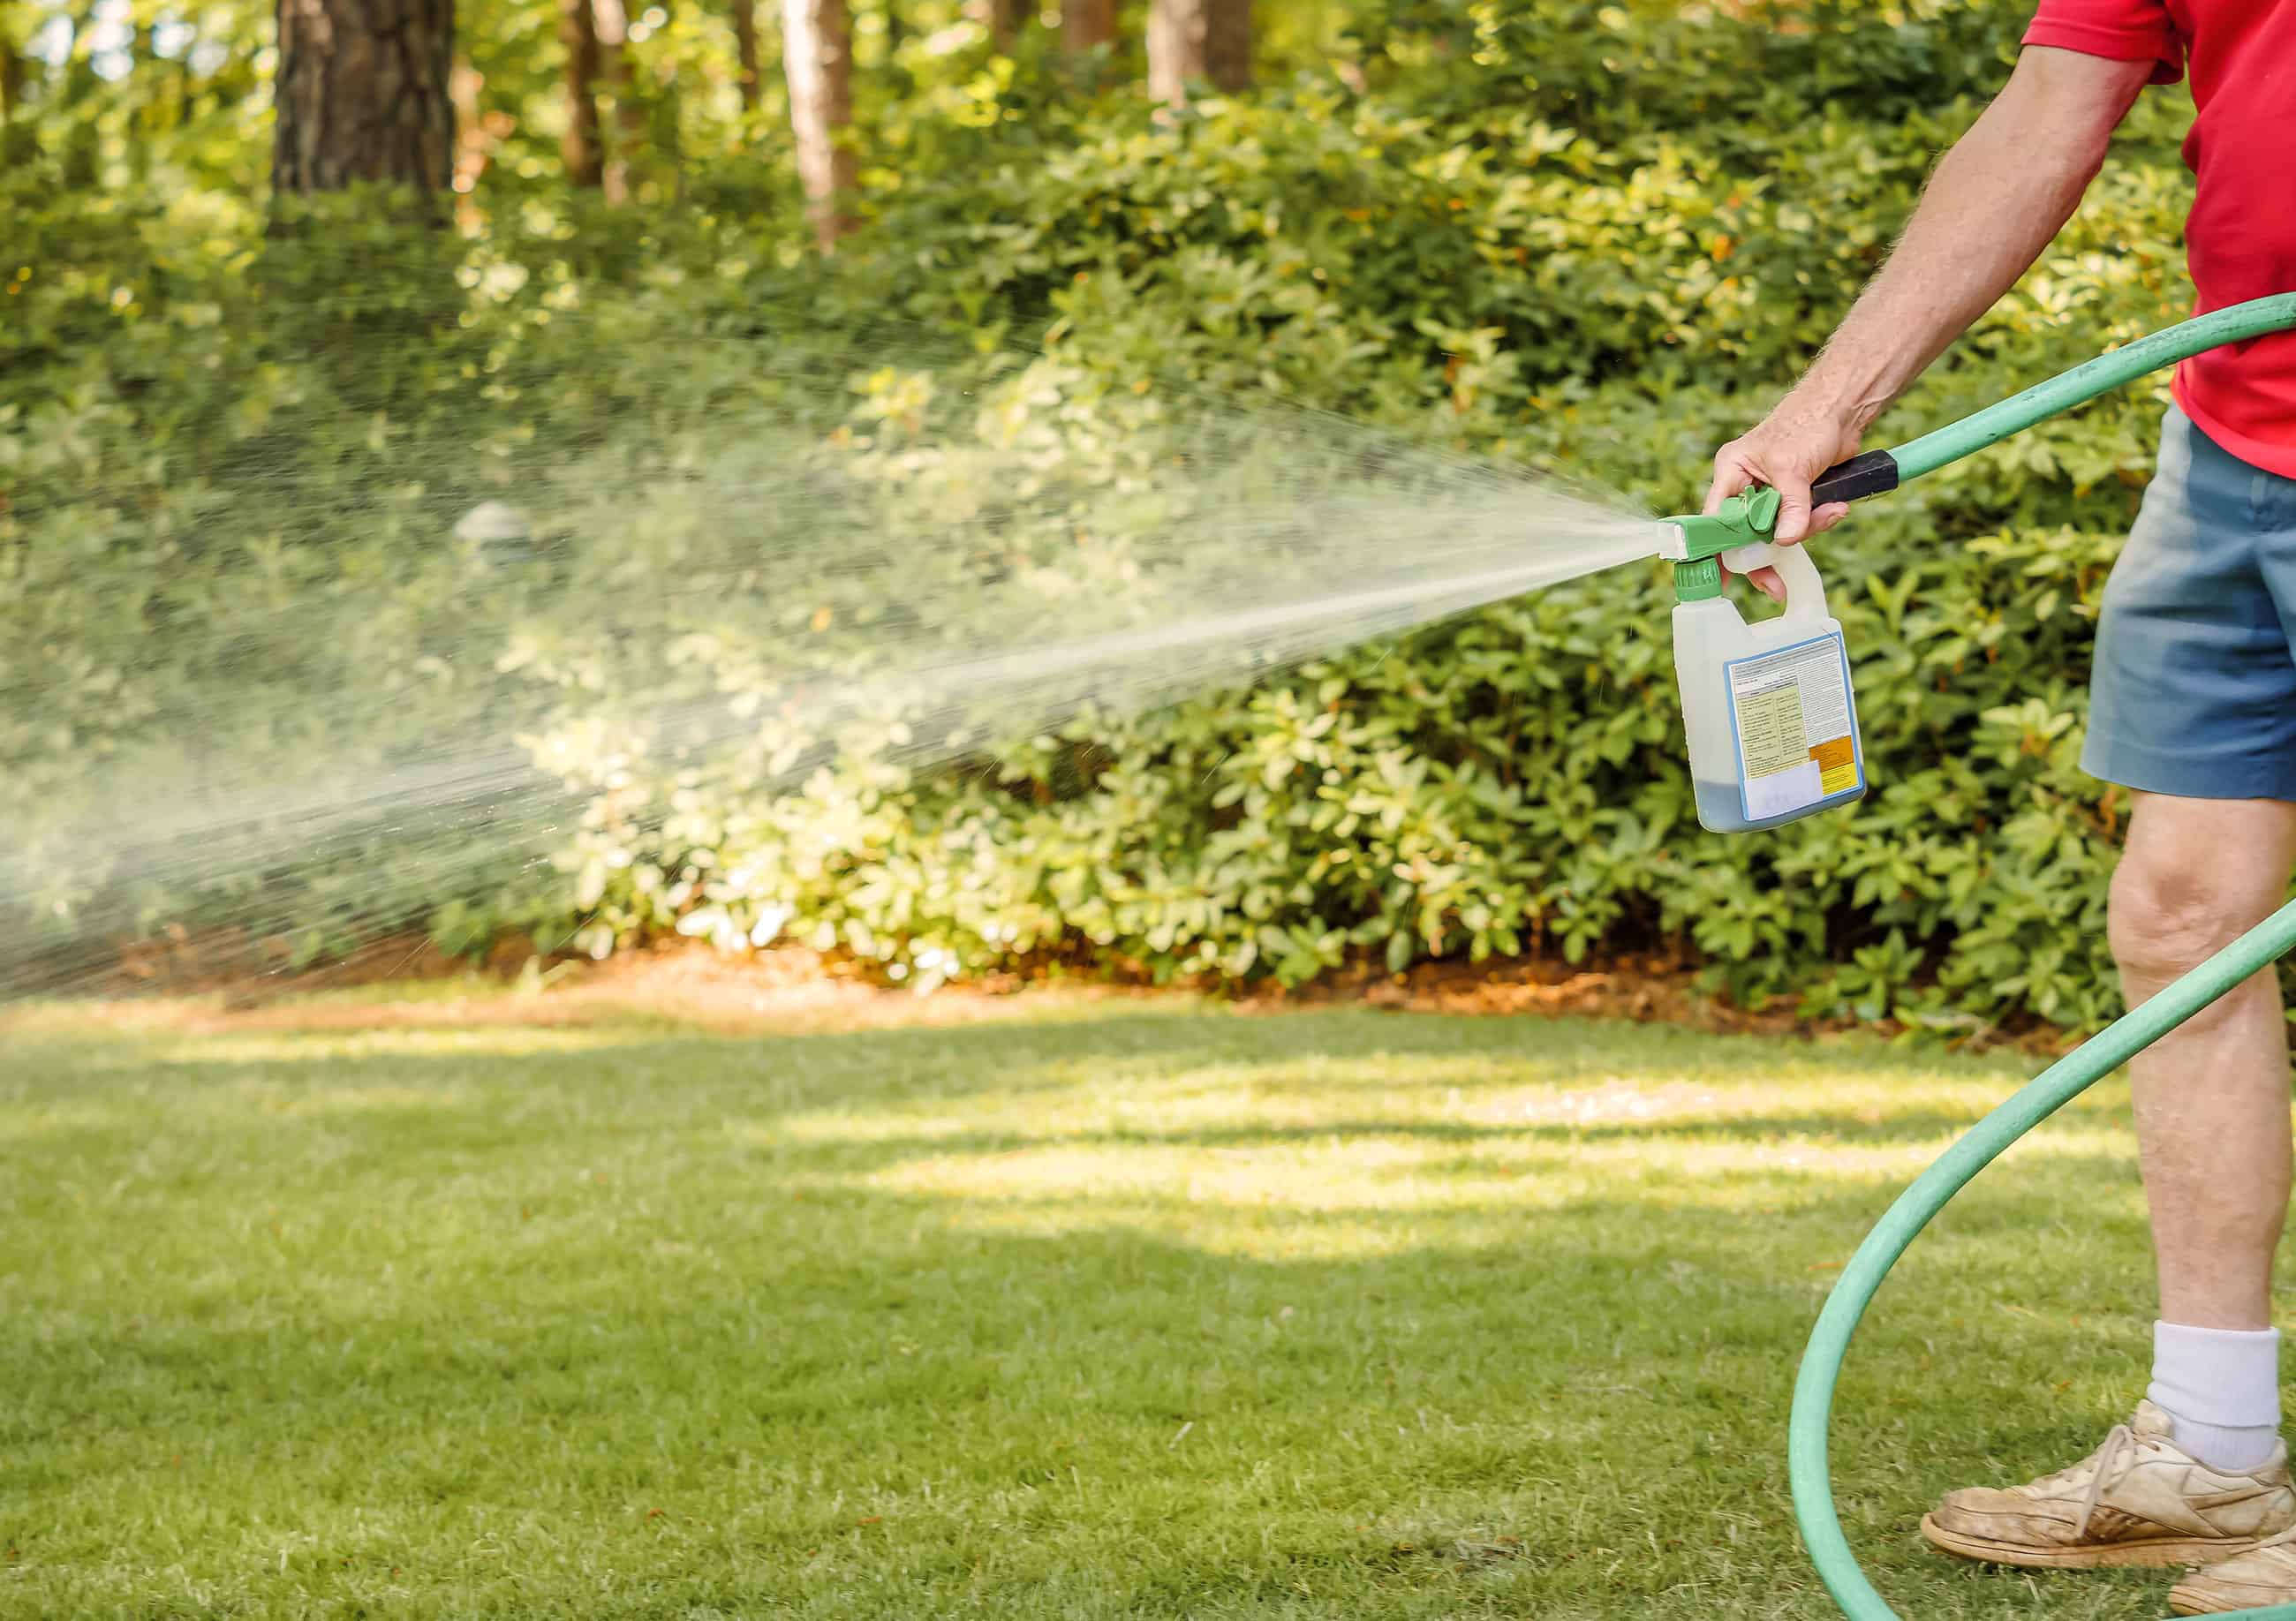
If you have existing weeds, we strongly urge you to apply a non-selective herbicide, such as glyphosate, to kill off the weeds before cultivating the soil.
GREEN TIP: You can use a 20-30% vinegar and orange oil solution instead of a non-selective chemical herbicide as an all-natural weed killer. As with all chemicals, take precautionary steps when handling 20-30% vinegar. CAUTION: Highly concentrated vinegar can cause severe burns!
Step 2:
Gently remove any weeds that have gone to seed by manually hand-pulling them to minimize viable seeds dropping to the ground.
Step 3:
Once you have applied the non-selective herbicide and removed the vegetation, cultivate the soil to a depth of 5 to 6 inches with a rototiller. Use a landscaping rake to level the ground. The leveling done at this step is a rough grading, and you will do the final grading once the topsoil has been added.
Step 4:
Remove any rocks and debris larger than 2 to 3 inches in diameter. Once this is done, you can add the topsoil for grass and do the final grade.
Note:
Although it is not advised, you can select to skip the application of a non-selective herbicide & rototill the weeds into the earth, or you may opt to use a sod cutter to remove the vegetation and a layer of the soil & roots. Please note that these two methods will be the least effective at preventing future weeds because you will likely drop viable seeds back into the ground, essentially replanting the weeds. Further, the sod-cut method may leave behind weed tubers & rhizomes, which can reemerge when the conditions are favorable.
Warnings & Tips
- The Quick Method will take approximately 1 to 3+ days, depending on which steps you opt to employ & your job site.
- Weeds that have gone to seed & are cultivated into the soil will essentially be replanted if not removed manually before tilling.
- The label is the law! Apply herbicides cautiously and according to the manufacturer’s instructions.
- CAUTION: Highly concentrated vinegar can cause severe burns!!
- Be sure to follow the manufacturer’s recommended waiting period before planting sod.
- Be advised that seasonal pre-emergent herbicides are an important cultural practice for maintaining a weed-free lawn.
What You’ll Need
- Rototiller
- Landscape rake
- Nonselective herbicide, such as glyphosate herbicide
- Herbicide applicator
- 20-30% Vinegar *Optional*
- Orange Oil Solution *Optional*
- Dish Soap *Optional*
- Landscaping/Protective Gloves *Optional*
- Other PPE *Optional*
Chemical Weed Control Method
Step 1:
Cultivate approximately 5 to 6 inches of the existing soil with a rototiller. Make sure to break up any clods of dirt. Add 2 to 3 inches of nutrient landscaping topsoil, such as sandy loam or landscape/garden mix, and rototill the new soil into the top layer of the existing soil.
*You must add the topsoil before you proceed to the following steps to ensure optimal efficacy. You can read more about adding topsoil here.
Step 2:
Use a landscaping rake to level the ground as much as possible. A final grading will be done once the weed removal process is complete.
Step 3:
Thoroughly wet the soil and continue to irrigate it regularly whenever rainfall is inadequate. You will continue to do this for about 2 to 3 weeks or until many weeds emerge. The moister you keep the soil during this waiting period, the quicker the seeds germinate, and the faster the weeds emerge.
Step 4:
Spray the weeds thoroughly with a nonselective herbicide, such as glyphosate, before the weeds go to seed. Be sure that you thoroughly spray all of the foliage, but be careful not to spray to the point of runoff.
GREEN TIP: You can use a 20-30% vinegar and orange oil solution instead of a non-selective chemical herbicide for an all-natural weed killer. As with all chemicals, take precautionary steps when handling 20-30% vinegar. CAUTION: Highly concentrated vinegar can cause severe burns!!
Step 5:
Repeat the tilling & watering process for about 2-3 more weeks. If a large number of weeds emerge again, reapply the herbicide. If only a few small weeds emerge, you can hand-pull these manually or pull them up with a hoe or similar tool. You can reapply the herbicide as well if this is preferred.
Warnings & Tips
- The most effective weed control method.
- The Chemical Method will take approximately 4 to 8 weeks, depending on how badly the area is infested with weeds.
- Please treat dense, mature weeds with non-selective herbicide before adding the new topsoil.
- Apply herbicides cautiously and according to the manufacturer’s instructions -The label is the law!
- CAUTION: Highly concentrated vinegar can cause severe burns!!
- If possible, apply the herbicide when temperatures are between 65°F and 90°F. Applications in temperatures around 40°F and 60°F will still kill the weeds, albeit much slower.
- Use nonselective herbicides cautiously, as the chemical can injure or kill your desirable plants.
- Apply chemical herbicides when wind speeds are lower to reduce drift.
- Be sure to follow the manufacturer’s recommended waiting period before planting the grass.
- Be advised that seasonal pre-emergent herbicides are an important cultural practice for maintaining a weed-free lawn.
What You’ll Need
- Rototiller
- Hoe
- Landscape rake
- Topsoil
- Irrigation system or hose with sprinkler attachment/spray nozzle
- Nonselective herbicide, such as glyphosate herbicide
- Herbicide applicator
- 20-30% Vinegar *Optional*
- Orange Oil Solution *Optional*
- Dish Soap *Optional*
- Landscaping/Protective Gloves
- Other PPE
Solarization Weed Control Method (non-chemical)
Step 1:
Cultivate approximately 4 to 6 inches of the existing soil with a rototiller. Make sure to break up any clods of dirt. Add 2 to 3 inches of nutrient landscaping topsoil, such as sandy loam or landscape/garden mix, and rototill the new soil into the top layer of the existing soil. *You must add the topsoil before you proceed to the following steps to ensure optimal efficacy.
Step 2:
Use a landscaping rake to level the area as much as possible and remove any rocks & debris larger than 2 to 3 inches in diameter. A final grading will be done once the weed removal process is complete.
Step 3:
Saturate the soil deeply by applying about 2.5 inches of water. The duration you will need to irrigate will depend on your irrigation system’s precipitation rate and your soil profile & infiltration rate. You can check your precipitation rate using the Catch-Can Method. Soil testing can offer insight into your soil profile & CEC exchange.
Step 4:
Spread the clear plastic tarp/sheeting, burying the plastic’s edges 5 to 6 inches into the soil to trap the heat. Do NOT use black or white plastic, as it will not allow enough heat to get to the ground.
Step 6:
Regularly check the sheeting and promptly repair any tearing with duct tape.
Step 7:
Remove the plastic sheeting after 4 to 6 weeks of hot, sunny weather. Alternatively, wait to remove the sheeting until 6 to 8 weeks have passed in the spring or fall.
GREEN TIP: For stubborn weeds, spray with a 20-30% vinegar and orange oil solution before starting the solarizing process.
Warnings & Tips:
- The Non-Chemical Method will take 4 to 8 weeks.
- Thicker sheeting up to 4 millimeters thick will better resist tearing from high winds and traffic.
- Thinner sheeting, no less than one millimeter, will allow more heat through and be more effective as long as you are prompt to repair any tearing.
- Record your irrigation system’s precipitation rate and keep it somewhere safe for future reference for your grass’s irrigation schedule.
- CAUTION: Highly concentrated vinegar can cause severe burns!!
What You’ll Need
- Rototiller or hoe
- Garden rake
- Topsoil
- Clear plastic sheeting, such as painter’s sheeting ( 1 to 4 mils thick )
- Irrigation system or hose with sprinkler attachment/spray nozzle
- Duct Tape
- 20-30% Vinegar *Optional*
- Orange Oil Solution *Optional*
- Dish Soap *Optional*
- Landscaping/Protective Gloves *Optional*
- Other PPE *Optional*